HTML Setup
For now, you will just use a text file and the web browser.
You will start with with a static page of HTML.
Then you will add d3.js.
Create a folder named d3js_projects.
Create an HTML file in the folder named project_1.html.
Start with a basic HTML webpage:
Which shows up in the browser:

D3.js Setup
To get the main D3.js JavaScript file go to the D3.js Website.
After the first paragraph on the page, you will see a section with links to the latest version.
We will link directly to the d3js.org website version to make it easier for us to begin.
We reference the JavaScript file from the head of the HTML file.
Our updated HTML file now looks like this:
Source File Setup Test
To test our D3.js setup we open the inspect element tool kit.
In the Element tab of the Webkit Inspector, we open all of the elements so that we can see the whole HTML structure.
We then right click the https://d3js.org/d3.v6.min.js src link and choose the "Real in Sources Panel" option.

JavaScript Console Setup Test
The last test will take place in the JavaScript Console.
This test tells us if D3.js is loaded correctly for our use in the JavaScript Console.
In this snapshot, locate the "Console" tab in the Webkit Inspector:

When you click on the tab, it will show you a blank screen where you can type and evaluate JavaScript.

In the JavaScript console, type the following:
This will cause a popup alert to pop up and say "Hello!". This is what it looks like:

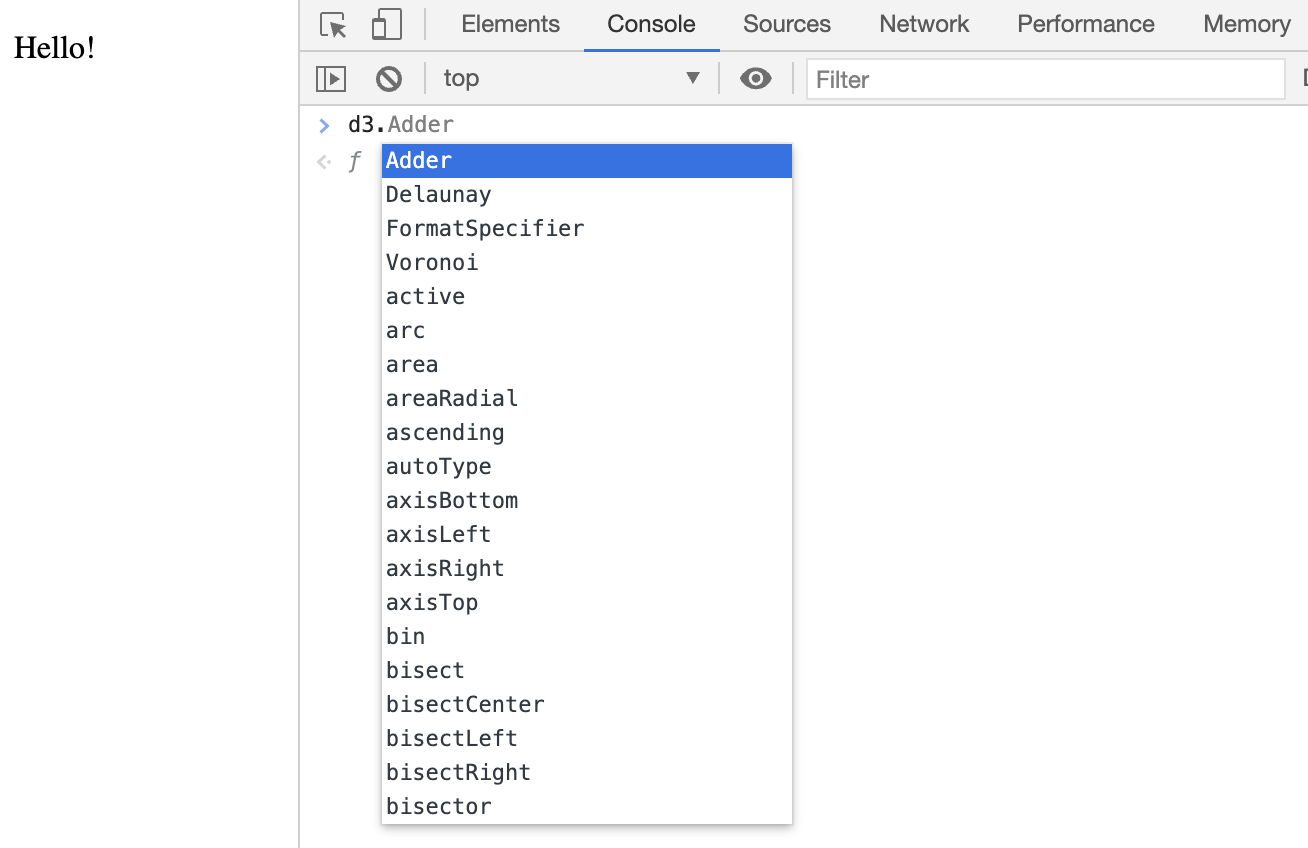
Now to test if D3.js is loaded correctly. Type a lowercase "d3" into the Console followed by a period:
If we have D3.js installed correctly, the following should appear:

If all the tests passed and you were able to load D3.js correctly, you are ready to get started.
Next up, you'll be adding a DOM element.